> ## Documentation Index
> Fetch the complete documentation index at: https://docs.operata.com/llms.txt
> Use this file to discover all available pages before exploring further.
# Teammates
> How to add, edit and delete users (Teammates) and what the Role types give access to.
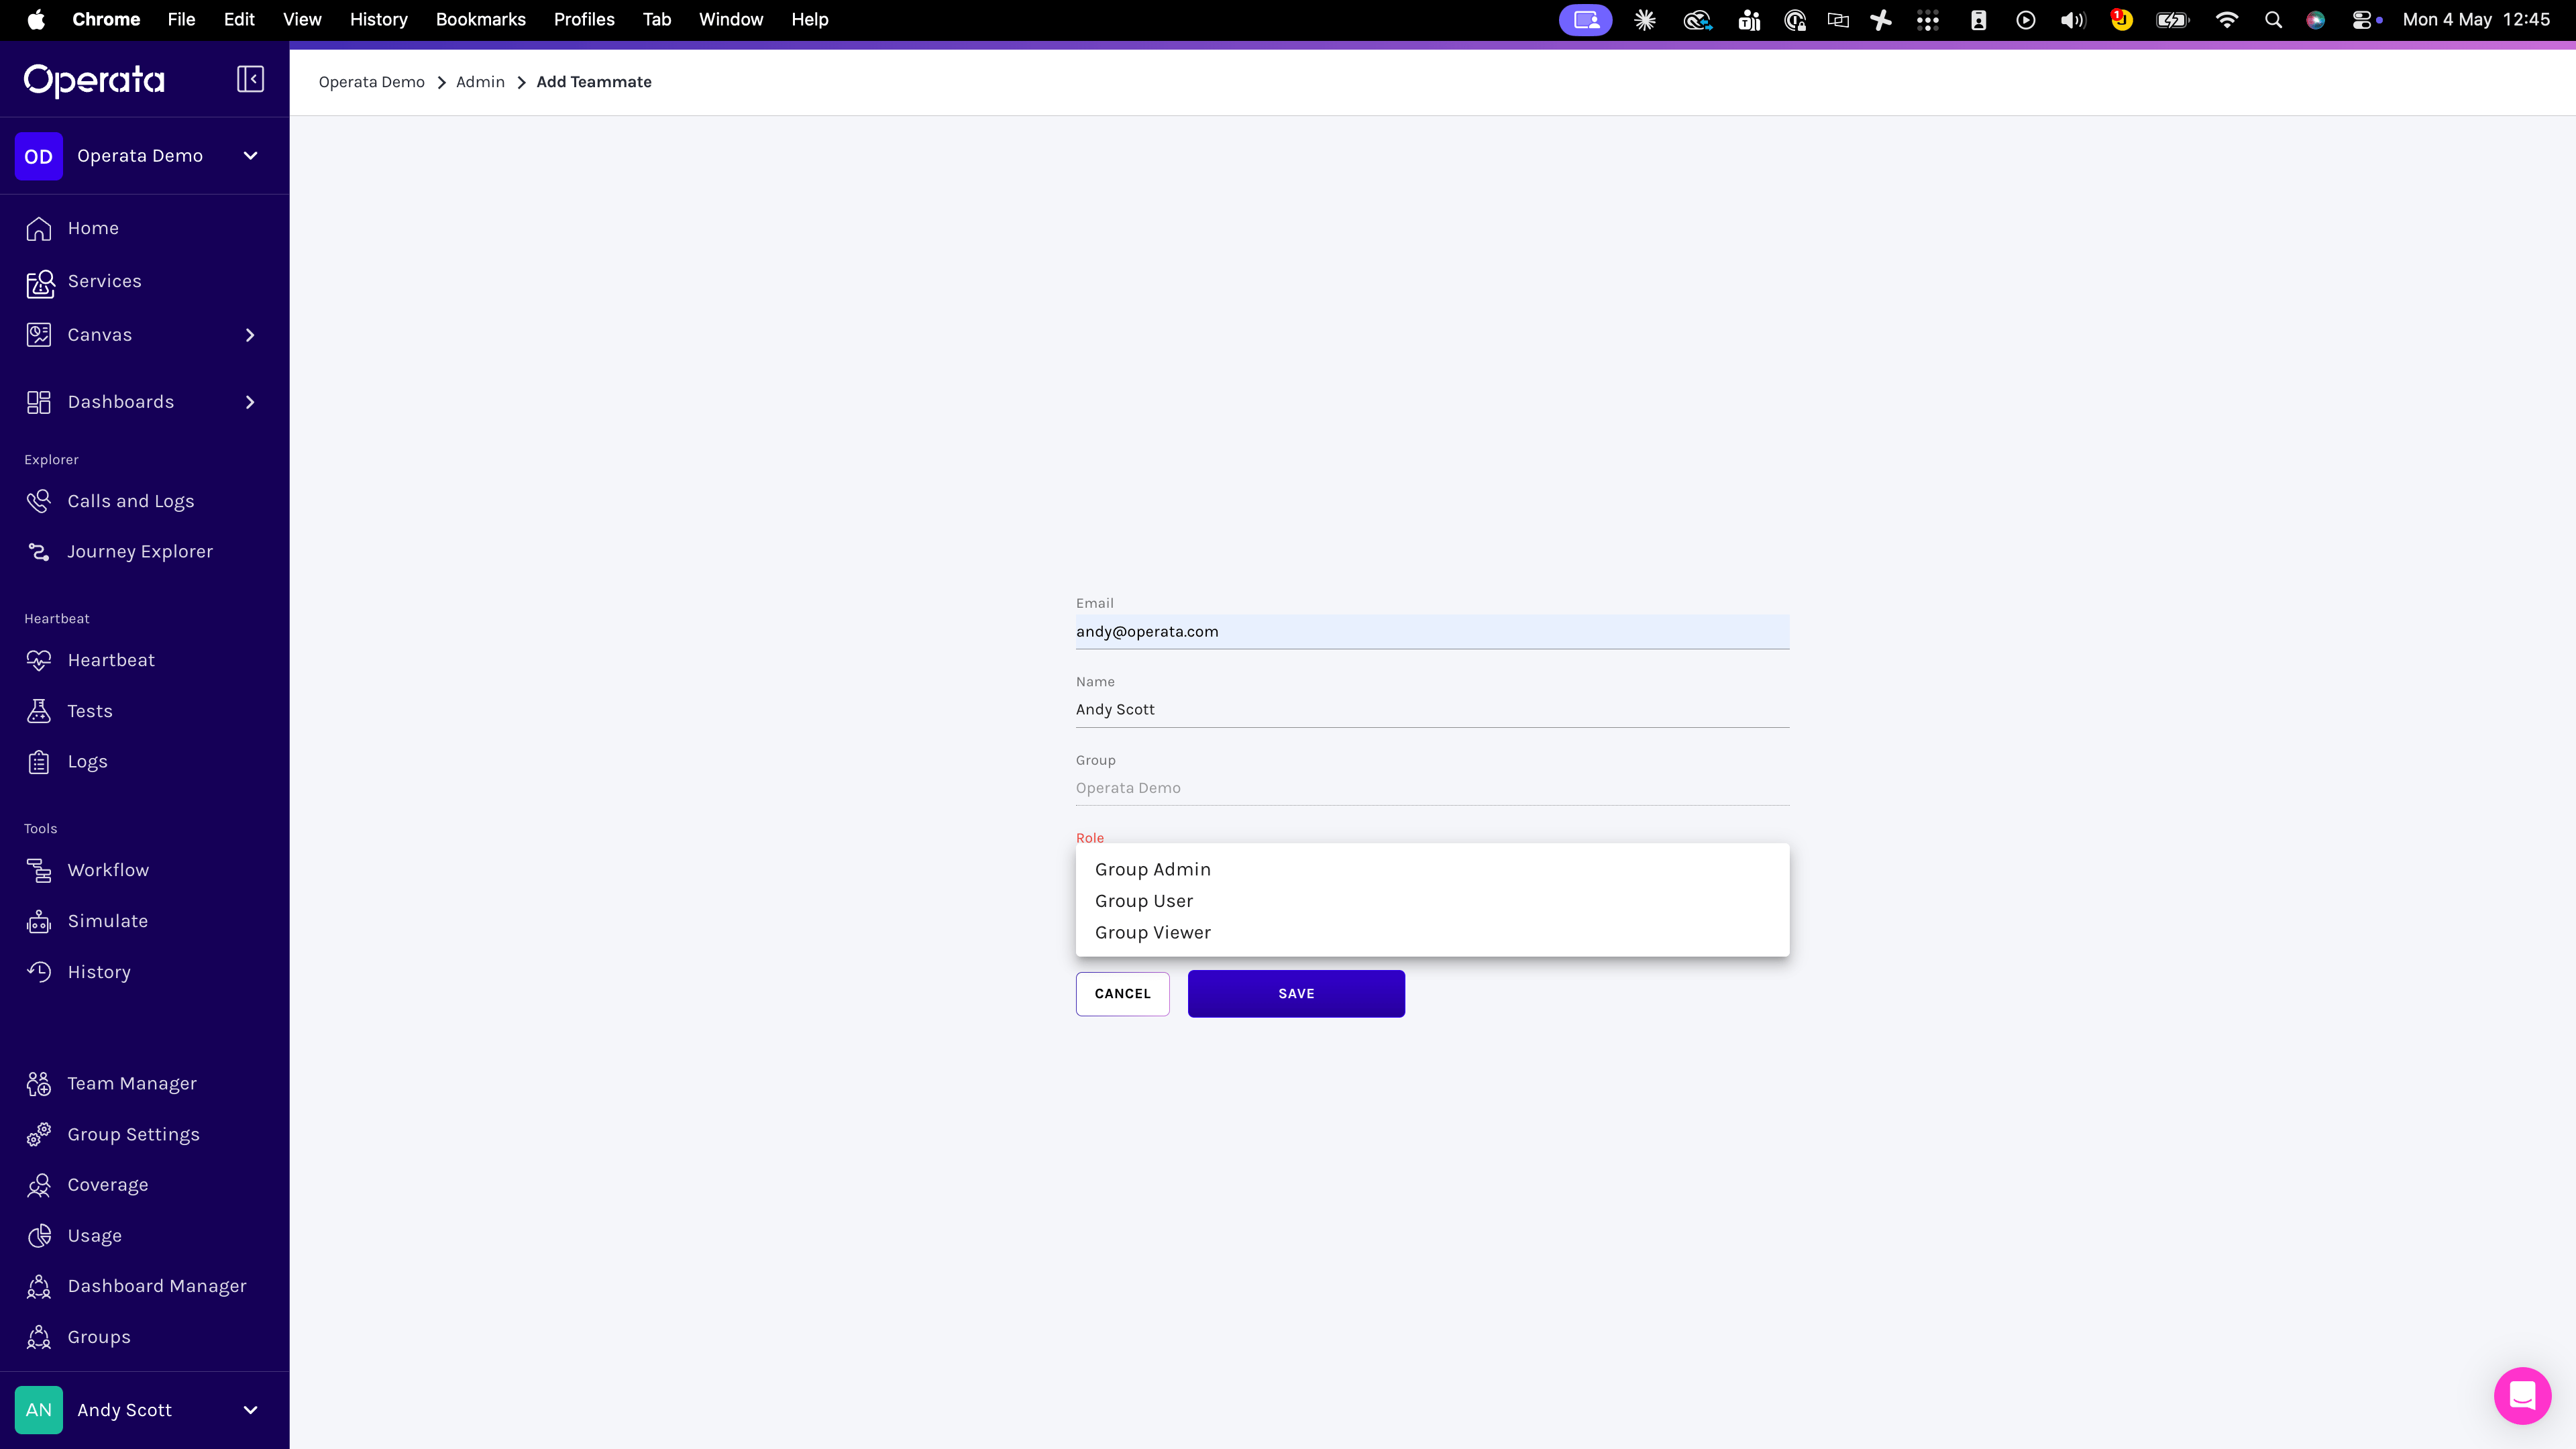
Select **Team Manager** to add, edit, and delete users (Teammates) within the Group you are logged into, or to create and configure Teams (where enabled for your account).
### Adding Teammates
Select the **Teammates** tab and **Add Teammates** to add someone.
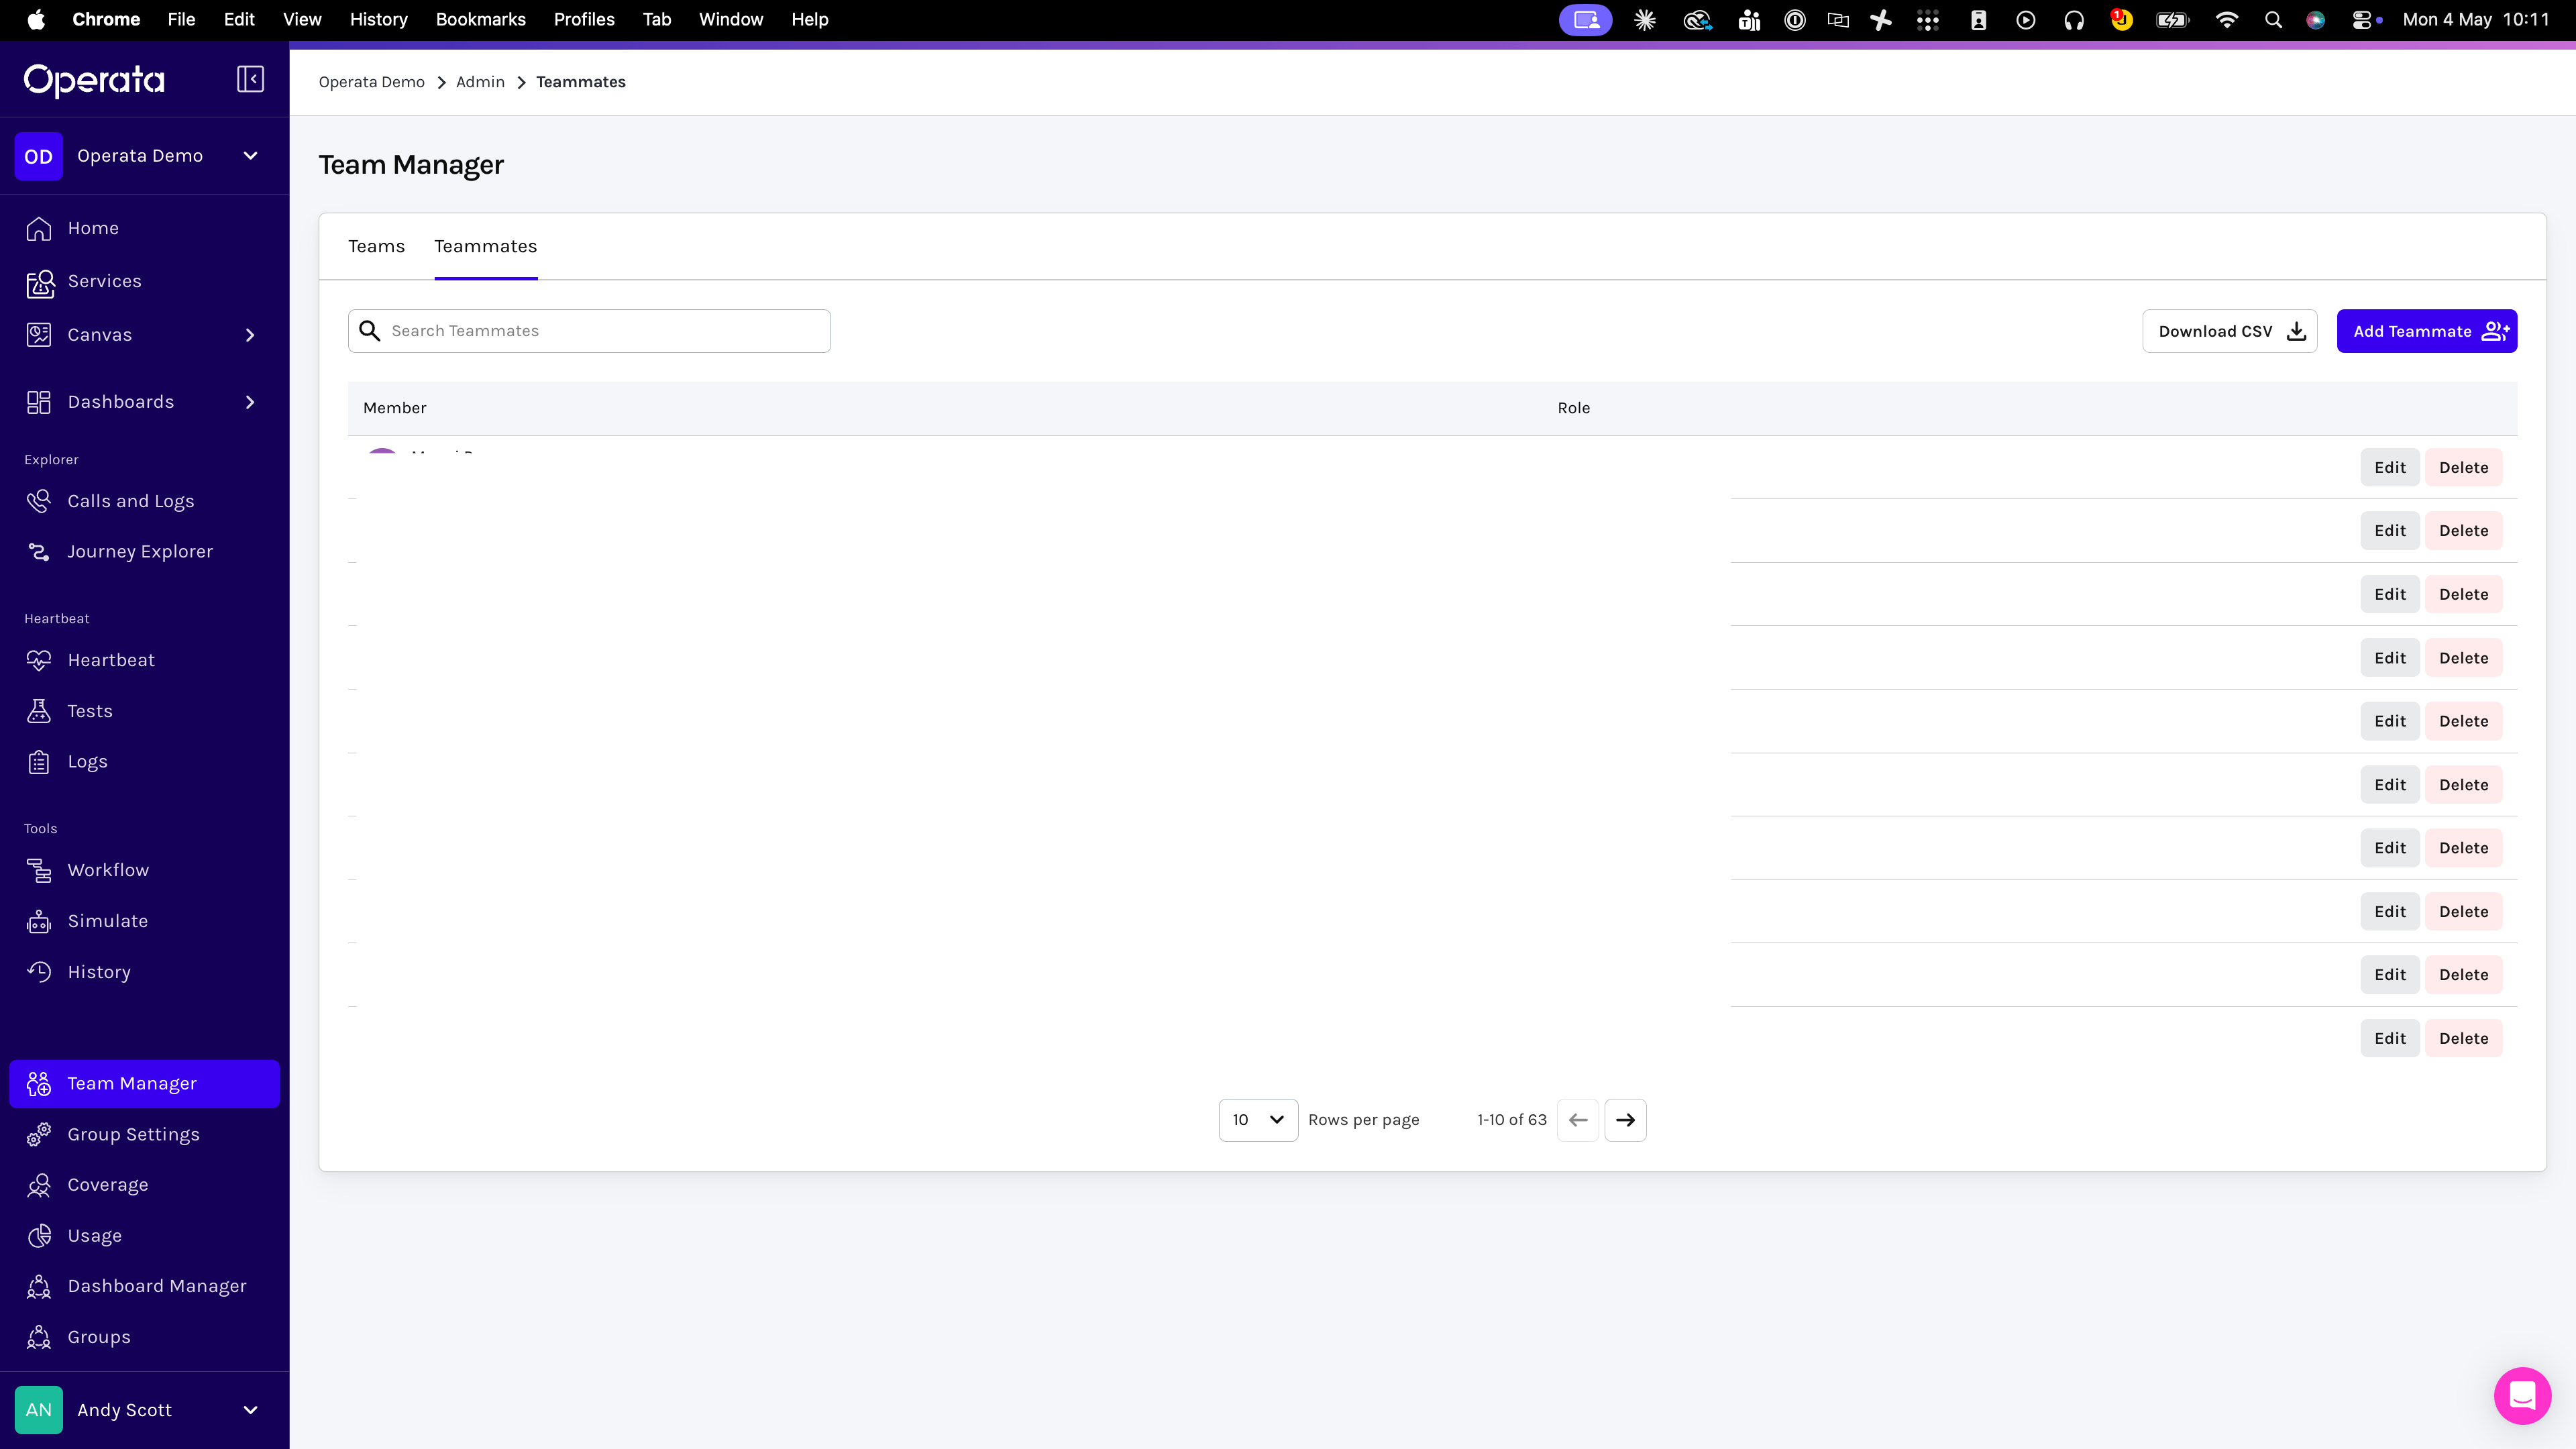 * Fill in the details, selecting the **Role:**
* **Group Admin** can create other Teammates and has full access.
* **Group User** can view but not create anything.
* **Group Viewer** can view only the dashboards and agents configured in Data Teams.
Then select **SAVE** to create the Teammate.
* Fill in the details, selecting the **Role:**
* **Group Admin** can create other Teammates and has full access.
* **Group User** can view but not create anything.
* **Group Viewer** can view only the dashboards and agents configured in Data Teams.
Then select **SAVE** to create the Teammate.
 ***
### **Teammates (users) Roles**
The features accessible at each level are in the table below.
| Feature | Group Admin | Group User | Group Viewer |
| --------------------------------------------------------------- | ----------- | ---------- | ------------ |
| View Legacy Dashboards | 🆗 | 🆗 | 🚫 |
| View Canvas Dashboards | 🆗 | 🆗 | 🚫 |
| View Specific Canvas Dashboards\* | 🆗 | 🆗 | 🆗 |
| Create Canvas Dashboards | 🆗 | 🆗 | 🚫 |
| Switch between Groups | 🆗 | 🆗 | 🆗 |
| View History | 🆗 | 🆗 | 🚫 |
| Create, edit and delete workflows | 🆗 | 🚫 | 🚫 |
| Create, edit, run and delete Simulate campaigns | 🆗 | 🚫 | 🚫 |
| Create, edit, run and delete Heartbeat tests | 🆗 | 🚫 | 🚫 |
| Configs - Change Softphone Configuration (including log levels) | 🆗 | 🚫 | 🚫 |
| Configs - Add/delete Simulate ‘whitelist’ numbers | 🆗 | 🚫 | 🚫 |
| Configs - Create/delete API Token | 🆗 | 🚫 | 🚫 |
| Add/Remove new Teammates (Group Admin or Group User) | 🆗 | 🚫 | 🚫 |
\* Needs the **[Data Teams](/docs/help/data-teams)** feature to be enabled, which limits views to specific dashboards with specific data.
***
## **Activate Account emails**
Once the account has been created, they receive an account activation email, then once confirmed, a second set-up password email from Operata ([help@operata.com](mailto:help@operata.com))***see***
### Account Activation
***
### **Teammates (users) Roles**
The features accessible at each level are in the table below.
| Feature | Group Admin | Group User | Group Viewer |
| --------------------------------------------------------------- | ----------- | ---------- | ------------ |
| View Legacy Dashboards | 🆗 | 🆗 | 🚫 |
| View Canvas Dashboards | 🆗 | 🆗 | 🚫 |
| View Specific Canvas Dashboards\* | 🆗 | 🆗 | 🆗 |
| Create Canvas Dashboards | 🆗 | 🆗 | 🚫 |
| Switch between Groups | 🆗 | 🆗 | 🆗 |
| View History | 🆗 | 🆗 | 🚫 |
| Create, edit and delete workflows | 🆗 | 🚫 | 🚫 |
| Create, edit, run and delete Simulate campaigns | 🆗 | 🚫 | 🚫 |
| Create, edit, run and delete Heartbeat tests | 🆗 | 🚫 | 🚫 |
| Configs - Change Softphone Configuration (including log levels) | 🆗 | 🚫 | 🚫 |
| Configs - Add/delete Simulate ‘whitelist’ numbers | 🆗 | 🚫 | 🚫 |
| Configs - Create/delete API Token | 🆗 | 🚫 | 🚫 |
| Add/Remove new Teammates (Group Admin or Group User) | 🆗 | 🚫 | 🚫 |
\* Needs the **[Data Teams](/docs/help/data-teams)** feature to be enabled, which limits views to specific dashboards with specific data.
***
## **Activate Account emails**
Once the account has been created, they receive an account activation email, then once confirmed, a second set-up password email from Operata ([help@operata.com](mailto:help@operata.com))***see***
### Account Activation
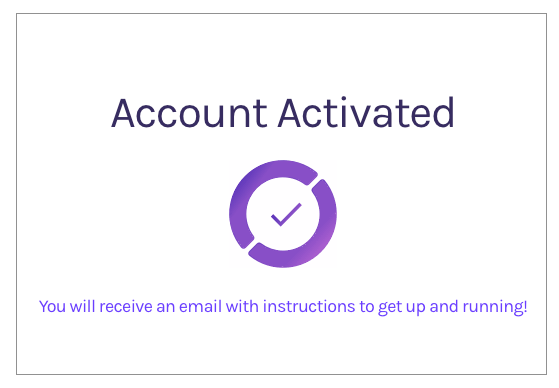
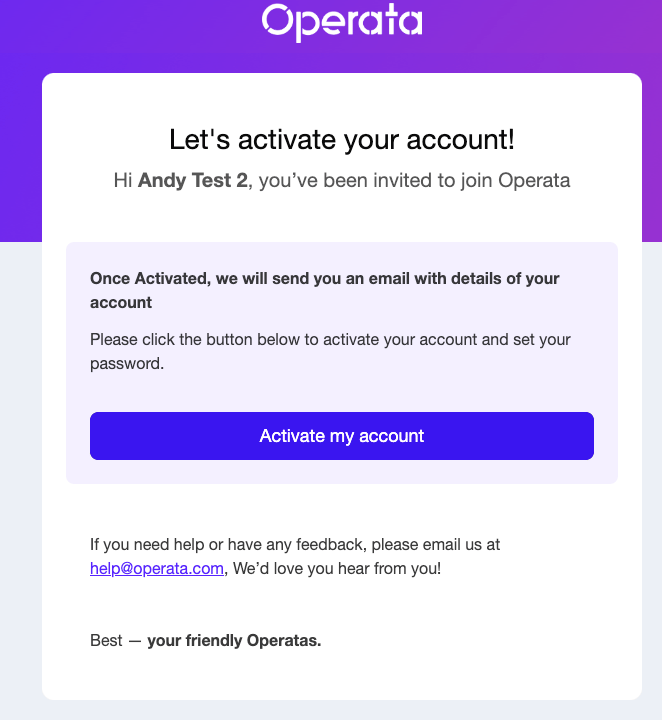 You will get the following confirmation
 ***
### Set your password email
The following email you receive will prompt you to set your password.
***Note:*** You need to **Set your password**, even when using Single Sign On (SSO)
***
### Set your password email
The following email you receive will prompt you to set your password.
***Note:*** You need to **Set your password**, even when using Single Sign On (SSO)
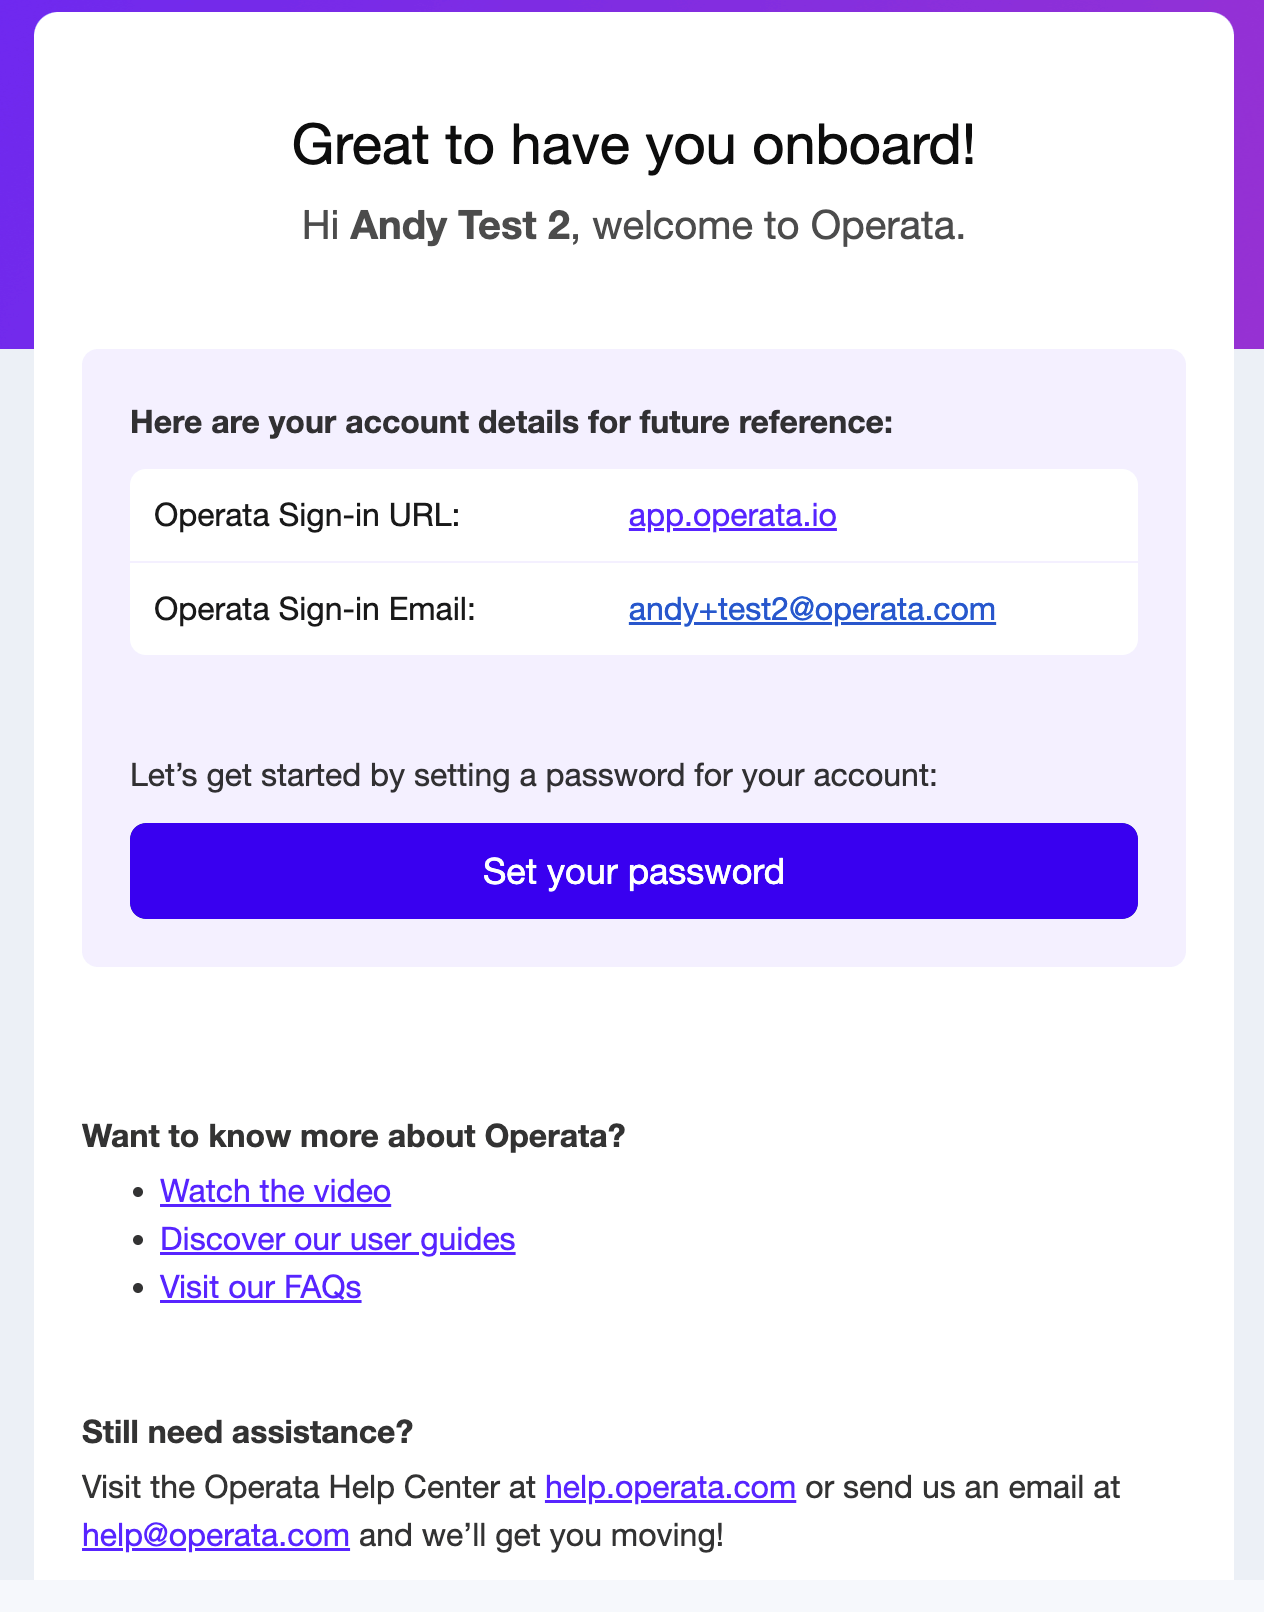 Selecting **Set your password**, and launches the screen below.
Passwords need to be a minimum of **8-characters** in length, with at least three of the following four character types:
* Lower case letter
* Upper case letter
* Number
* Special Character
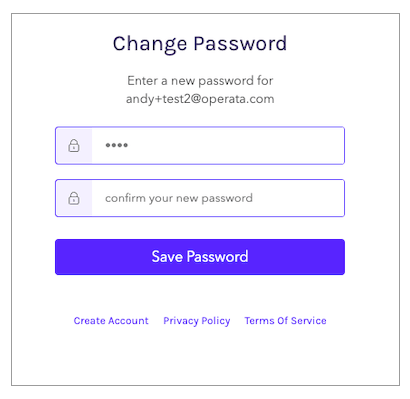
Selecting **Set your password**, and launches the screen below.
Passwords need to be a minimum of **8-characters** in length, with at least three of the following four character types:
* Lower case letter
* Upper case letter
* Number
* Special Character
 ***
## 3. Now sign in using your email address and password.
If you are using SSO, you will not be prompted for a password.
***
## 3. Now sign in using your email address and password.
If you are using SSO, you will not be prompted for a password.